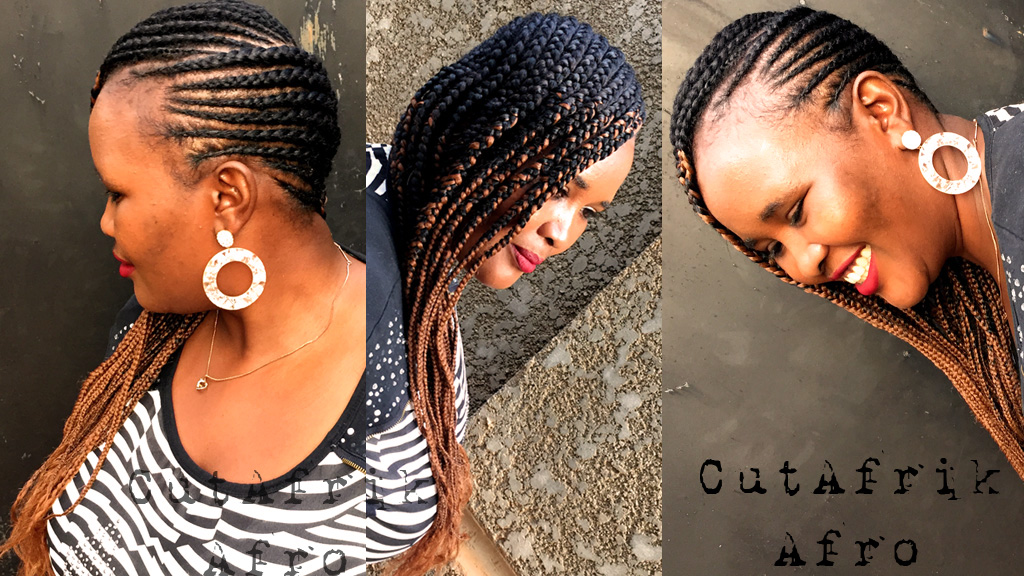
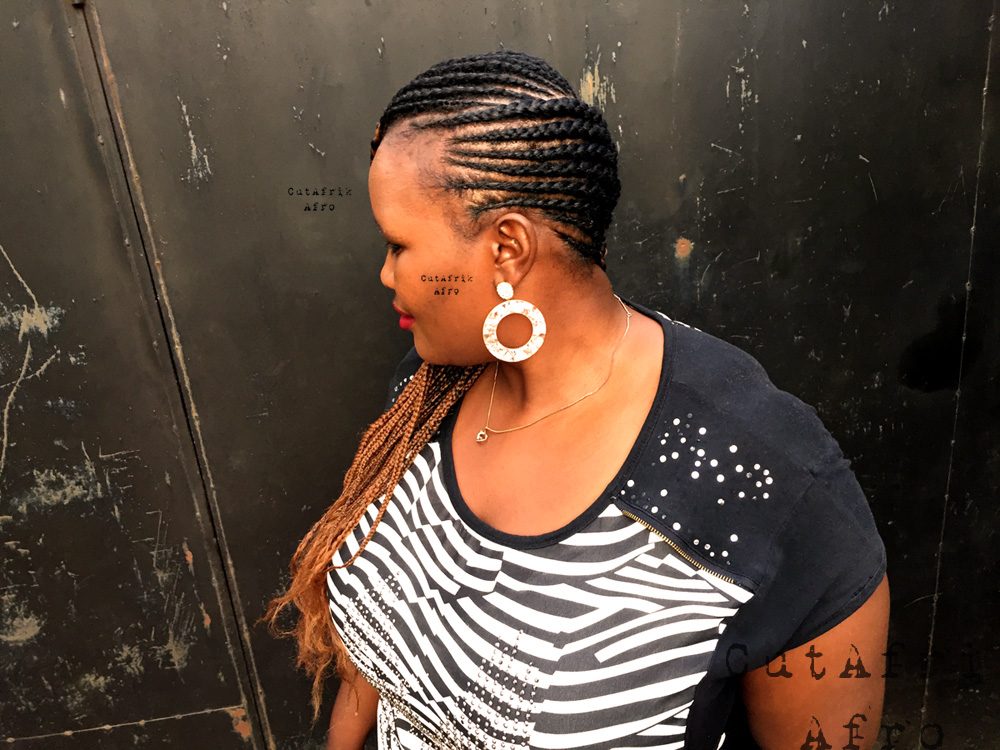
Cornrows are a practical way to wear, protect and add style to your natural hair. Remember your hair will be tucked away for weeks, a month or even a couple of months so you want to make sure it’s in the best condition. We are going to discuss principles that will guide you achieve this hairstyle in the best way possible every time. You will also learn how to cornrow hair yourself, not forgetting to discuss some challenges that come along when leaning how to braid and how to overcome them.
Shampoo Hair First
Cleaning your strands and scalp first is an absolute must before braiding. Use a clarifying shampoo to remove any excess residues. Remember with neat braided hair, your scalp will show and you don’t want to show product build up at the very start of wearing braids. The scalp needs to be washed while the box braids are installed,” says Dr. Marmur. “This starts the style off with a healthier clean scalp and reduces the chances of infection.”
Do a Protein Treatment and Deep Conditioner
To prepare your hair for braids, It is very important to do a protein treatment followed by a moisturizing one. The treatment ensures that your hair and scalp are strong enough to handle the extra weight and tension of the braids. One of the major causes of hair breakage is dryness which makes the strands brittle. Conditioning hair helps infuse moisture into your strands not to dry out for the period you have the braids in. The best thing is to deep condition using a mask a few days before having your braids put in.
Oil Scalp and Strands
Oiling hair not only soothes skin but also increases the tensile strength of the hair, reduces frizz, breakage and makes hair overall more manageable. Oiling the hair strands seals in the moisture so that your hair does not dry out and also helps with lubrication of the shaft to prevent breakage. Not last but least, oil protects hair from heat damage in case you are for to blow out or stretch hair before braiding. Let hair dry completely before braiding.
Stretch, Blow Dry or Detangle Hair
Detangling will make installing braids easier hence minimizing breakage when manipulating.
Part hair in evenly spaced lines
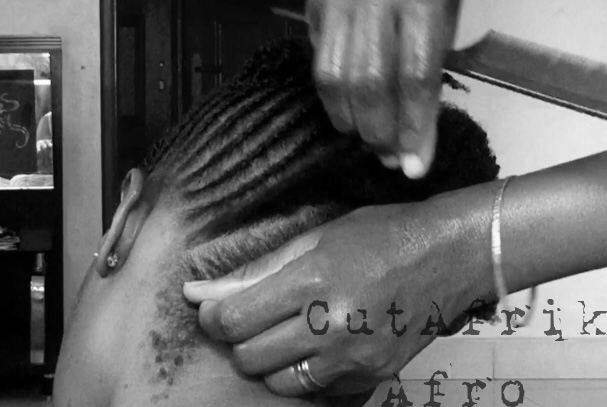
Using the tail end of a rattail comb, make clear size section you are going for.
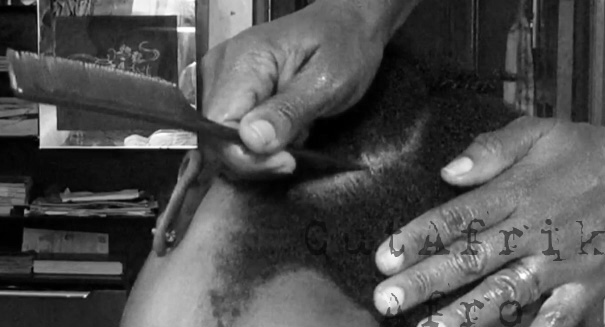
Thinner sections will result in thinner cornrows, while bigger sections will yield bigger cornrows. You do not want o snag and snap some of your tresses while getting braiding. The sections will help the whole hairdo look neat once it is done. Try to make your parts evenly spaced so that your rows are about the same size. Make sure you have clips to secure and put away other sections as you braid.
Use a wax or Edge Control
Add a bit of edge control along your hairline and the section you are about to braid as this will help you grip the hair easier, tame flyaways, give you a sleek look keeping your cornrows neat. After applying remember to comb your product through on each side.
How to Cornrow- Natural Hair
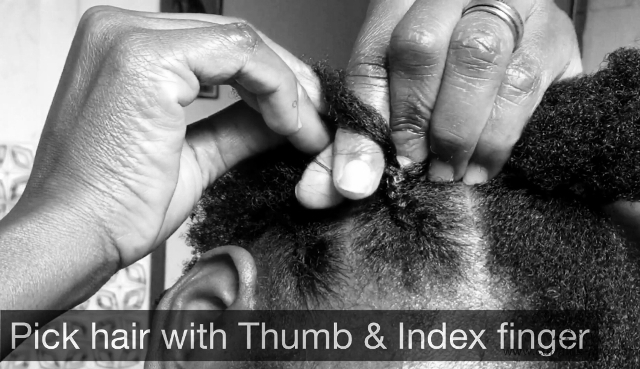
On the section you are about to braid, pick a small section of hair to start with and separate into three smaller sections. 1 hand holding 1 strand of hair, while the other hand holds 2 separated sections of hair. Starting with either the left or right section in your fingers, move it below the center section, replacing the center with it. Then move the section on the opposite side so that it is in the center, and switch the current center piece with that side.
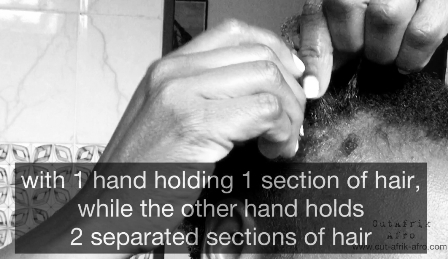
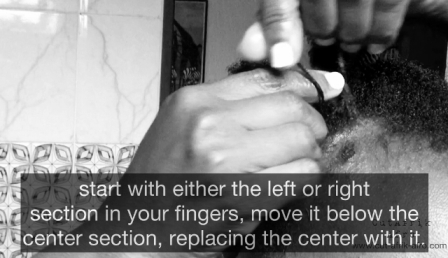
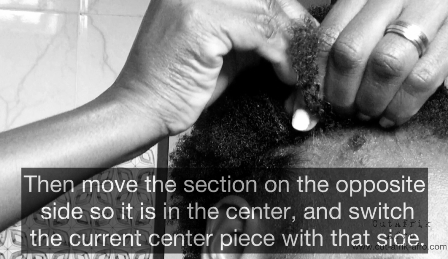
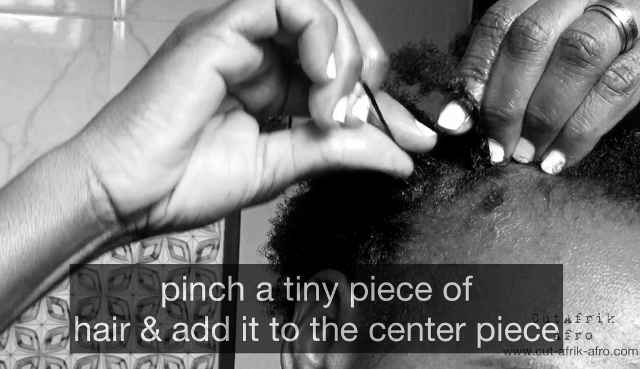
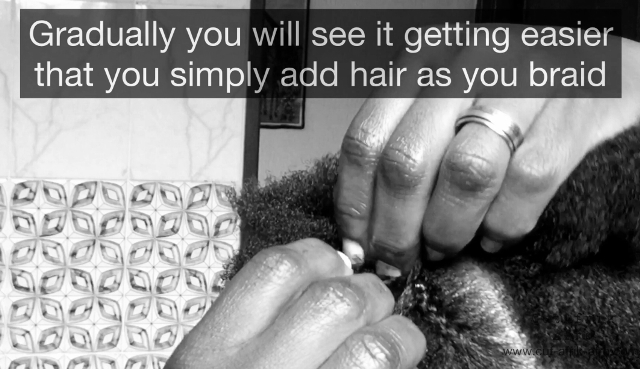
After that one stich, pinch a tiny piece of hair on your right or left depending on where you started from and add it to the center piece of hair (in between your thumb and index finger) and keep braiding. Pinch another piece of hair on the other side as you continue braiding. Just follow the same technique and it will become easier. You will find yourself simply pinching or picking hair with your thumb and index finger without necessarily adding it with the other hand. Remember to keep detangling hair every time you see or feel tangles as you braid.

Body and Hand Posture
Whenever you come around the different bends of the head slightly change the position of your hand and body so that you direct the braid where you naturally want it to go.
Gripping
We usually can’t grasp everything at once. Typically when learning how to cornrow we may marry one or two techniques that we might do well and fail with others. For example, we may be excited about braiding and braiding and forget about how much hair to pick up when doing a cornrow or failing to stick to the scalp constantly. You do not want your fingers to be travelling to far when doing your cornrows. Keep them close together when picking up small amounts of hair. Stay as close by as you can. Keeping your fingers close to your scalp literally touching your scalp the entire time. Paying attention to this will help you have a good grip.
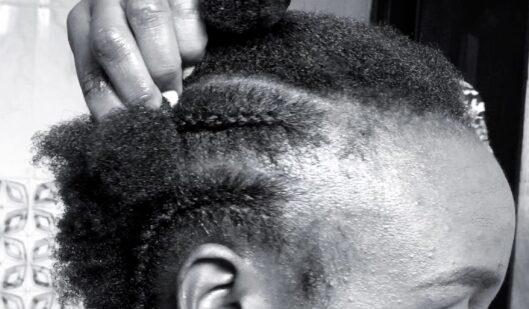
Remember, practice makes perfect. You don’t have to learn every thing at once. You may learn one today and the other another time. Be patient and consistent.
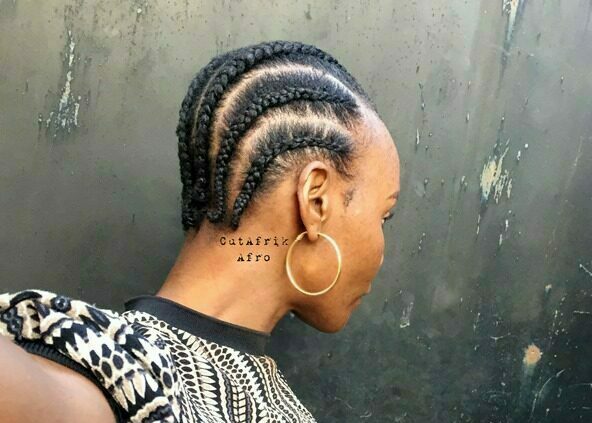

The video below demonstrates briefly how you could do cornrows yourself on your natural hair. I will be happy if you left a comment below. It could be in a form of an addition to this or a question. Thank you for your time.
Feed In! 3 Methods
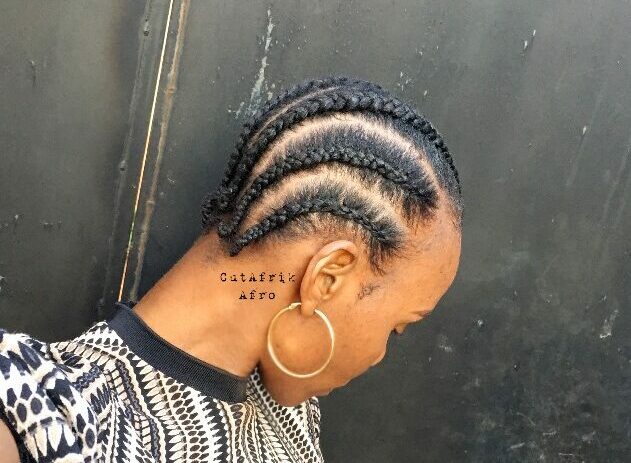
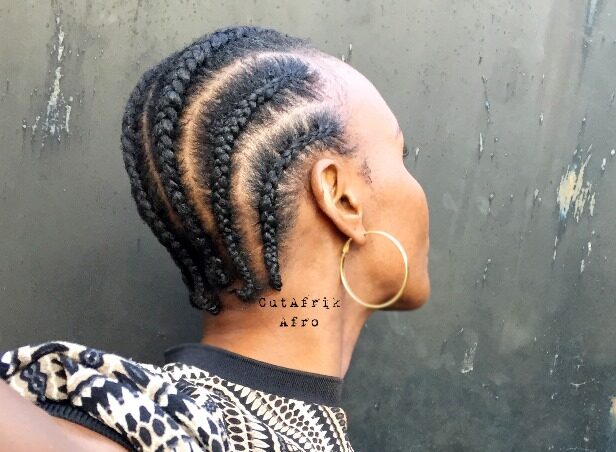
This article shows 3 ways of how to feed in cornrows. The first one starts without any hair extension (weave) added in then feed in comes in after 1 or two stiches. This type of feed in gives a knotless look. The second feed in starts by wrapping a small section of hair with hair extension piece. This type gives a knot at the start. The third one is just the best for those who have short hair or broken hair at the edges. Please read to get the most out of this.
The Knotless Feed In Cornrows
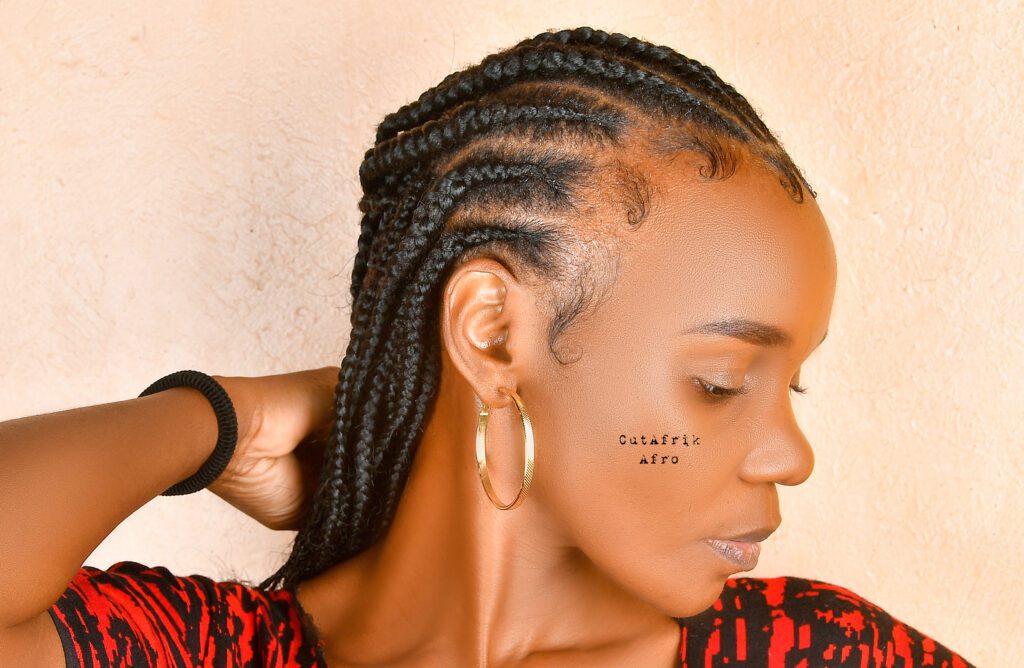
This type of feed in gives a knotless look because it starts without any hair extension (weave) added in. It also starts small and gradually gets larger since we keep adding small pieces of hair extensions (weave). Use this knotless feed in when you have long hair. Very short hair may not start a knotless cornrow since this feed in starts without any hair extension (weave) added in. Below are simple steps on how to achieve this look.
Split your hair extensions or weave into small equal pieces. Same size pieces will give you a more neat uniform gradual consistency when braiding. The only difference you could make here is have the first piece slightly smaller than the rest since the beginning hair usually starts thinner.
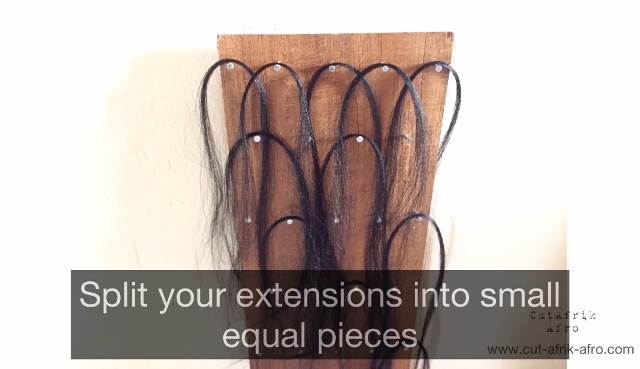
Now the size of the pieces of extension or weave you are to split depends on the density of your natural hair. Hair density refers to how many strands of hair grow per square inch of the scalp. Just having a general idea about whether your hair density is on the thin or thick side can help you determine the size of hair extension pieces you would go with. If you can see your scalp without moving your hair, your hair density is likely on the lower end. If you need to move your hair slightly to see your scalp, your density is probably somewhere in the middle. If it’s difficult to see your scalp, your hair density is likely high. I split my weave relatively small pieces because my natural hair is on the medium side. Using big pieces for thin hair will give your cornrows a crinkled or crimpy look (not uniform is what a mean).
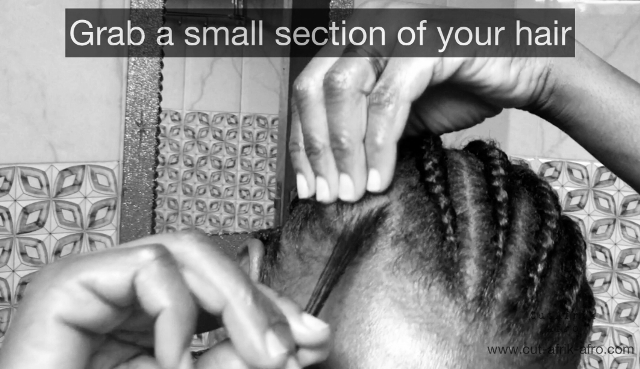
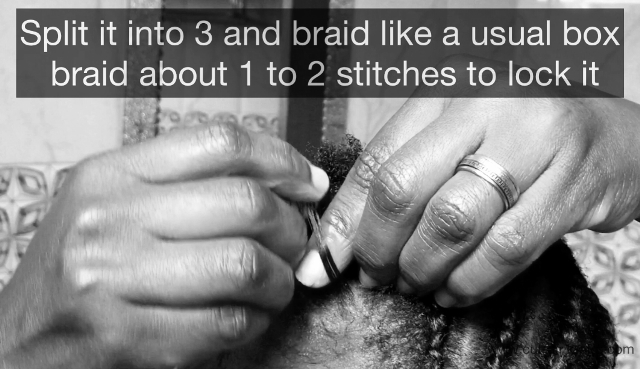
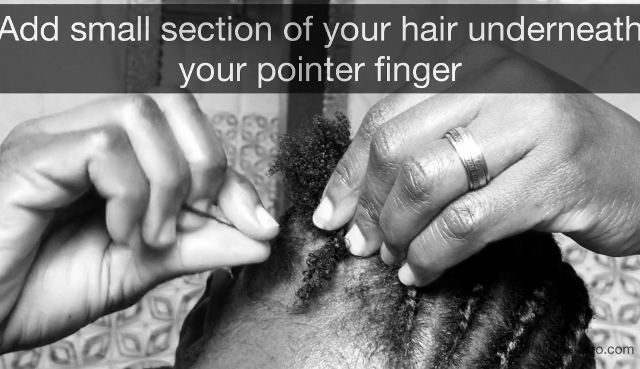
After parting your line, grab a small section of your natural hair and split it into 3 smaller sections. Braid like a usual box braid about 1 to 2 stiches without any hair added. Then add a small section of your natural hair underneath your index/pointer finger.
Grab your extension (weave) and add it underneath your index finger (pointer) too. You do this by holding it in half, place the middle part underneath your index finger. The 2 sides of this piece will be in line with your two pieces of hair in your fingers. The one on the center and the other on one side (left or right side depending on where you started from). Braid and add your natural hair on the other side to make a stitch.
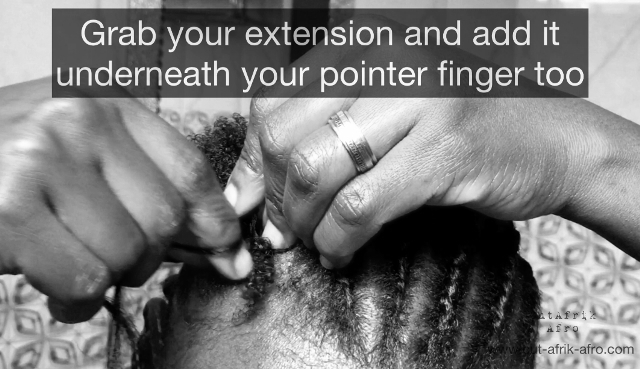
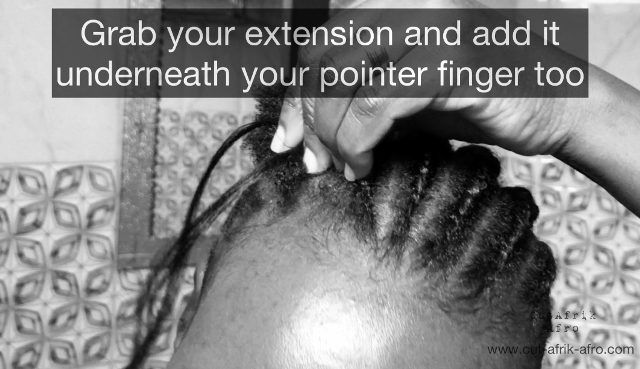
Keep adding extension pieces along with your natural hair after every one stitch until you are satisfied with the size you want then continue braiding to the end of your cornrow.
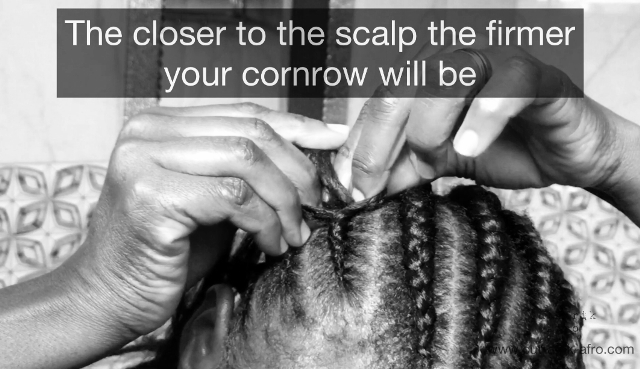
If want your cornrows to look tight and neat, then you have to grip right on the scalp. you have to keep your fingers touching the scalp and your cornrow will be firm.
If you have anything that I have missed here please let us know in the comments section. Otherwise whalaaa! That it. Send us your finished look if you don’t mind.
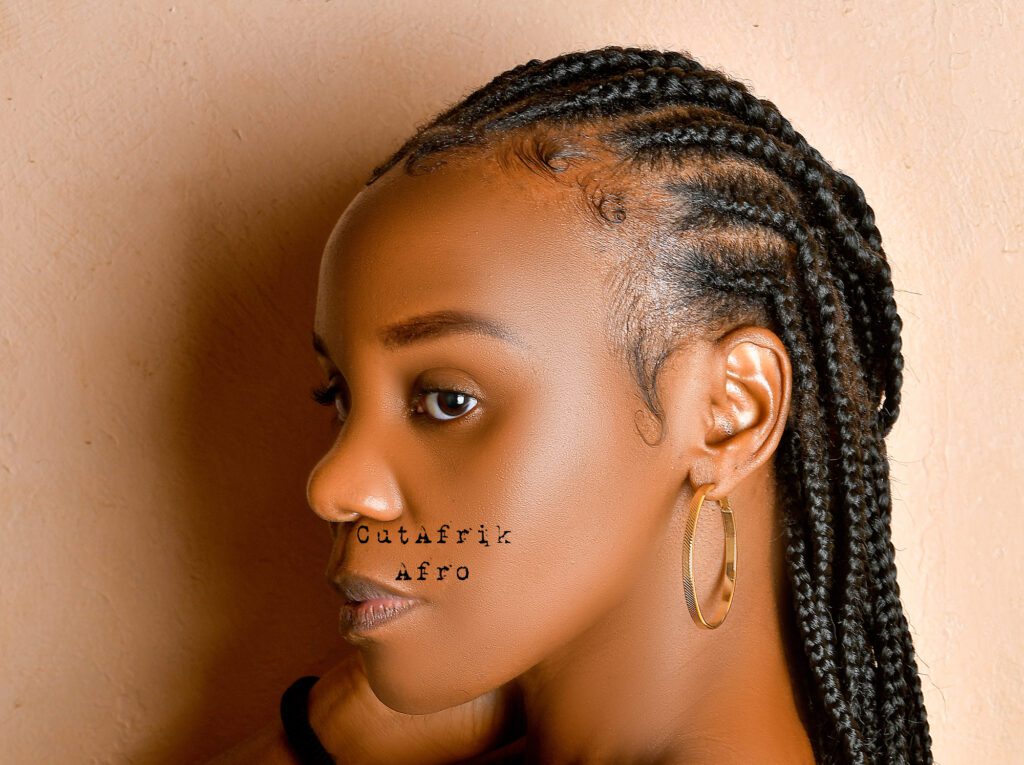

The Cornrow That Starts With A Knot
The only difference is at the start of the cornrow, otherwise the rest is the same as the knotless feed in. So how is it different? Lets see.
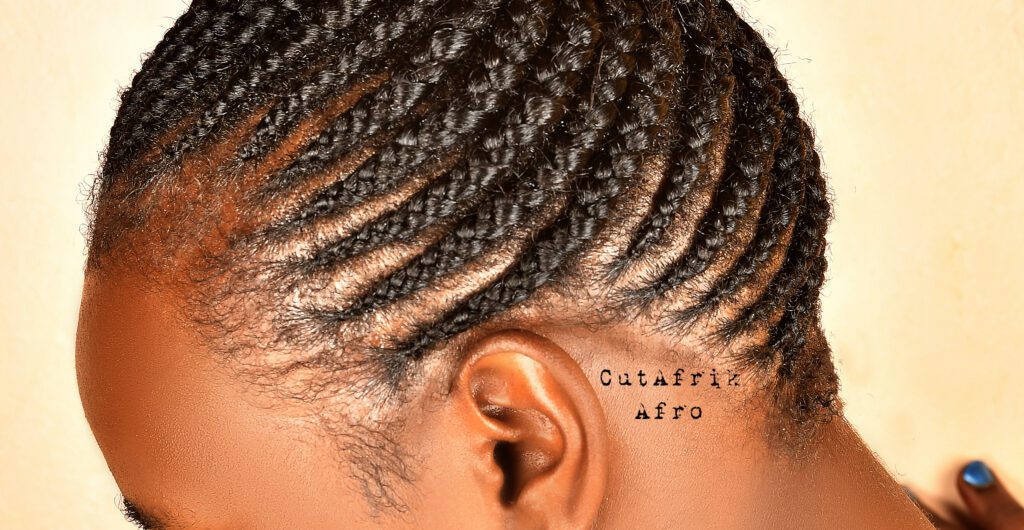
Just like for the knotless cornrows split your hair extensions or weave into small equal pieces. Same size pieces will give you a more neat uniform gradual consistency when braiding. The only difference you could make here is have the first piece slightly smaller than the rest since the beginning hair usually starts thinner.
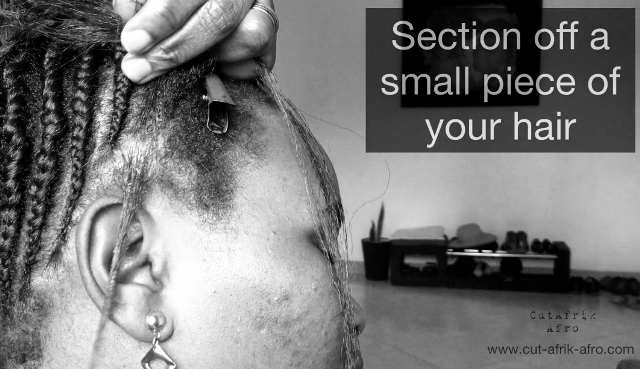
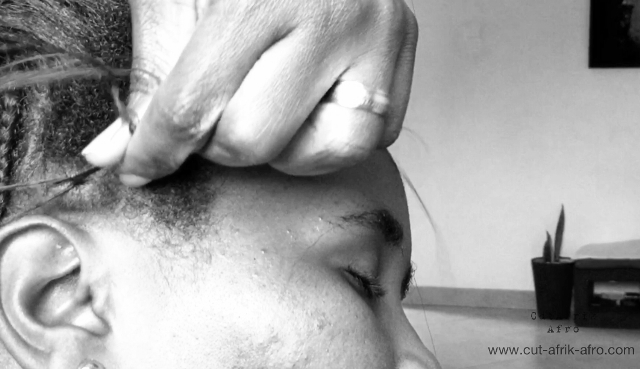
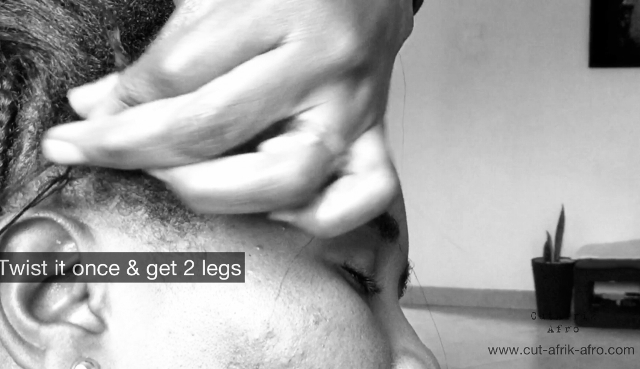
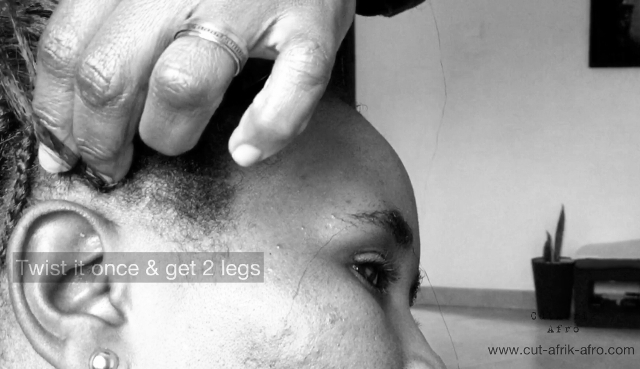
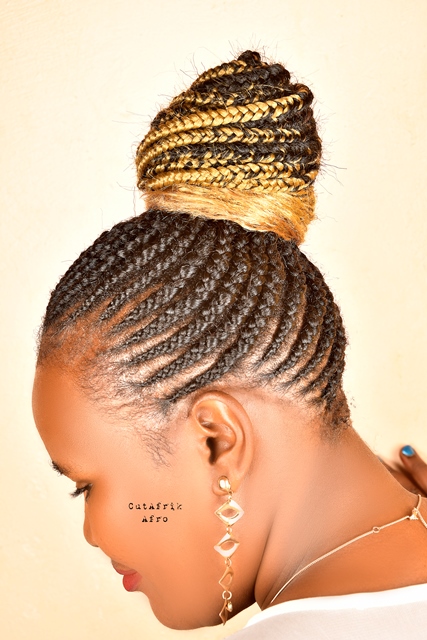
So you start by sectioning off a small piece of hair like in the picture below. Grab extension hair size equivalent to the size of hair you have sectioned and wrap it round that section, twisting once to get 2 legs and then your that your have wrapped becomes the third leg and start braiding as you add your natural hair.
After braiding about 2 to 3 stiches, add your hair extension piece by holding one side of the extension hair with your pinky finger and take the other piece to the center underneath your index finger. Braid one stitch as you leave the one on your pinky finger out.
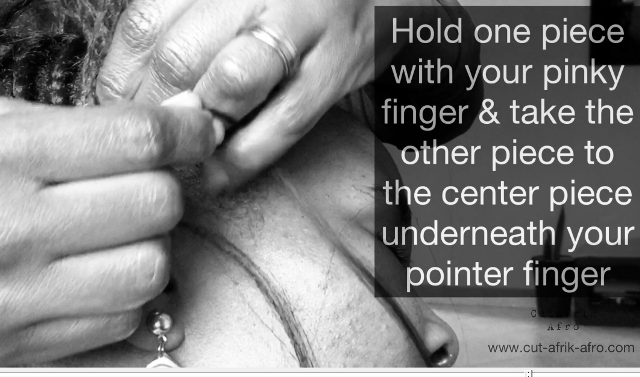
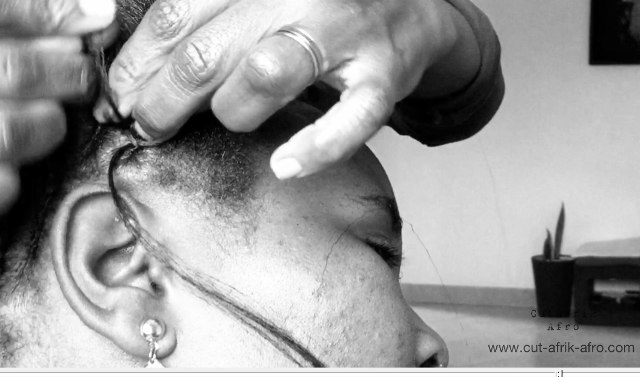
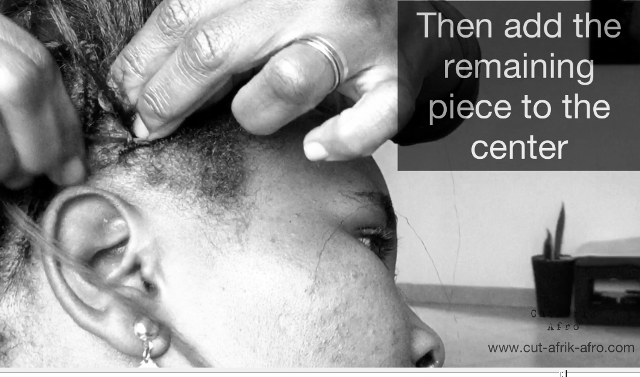
After that one stitch add the other remaining piece from your pinky finger to the center underneath your index finger and braid another one stitch. That is the circle. You will keep adding hair extensions in the very same “circle” until you get the thickness you want then continue braiding. I that difficult?
NOTE:
I will be adding more content soon …
Great Feed In For Short Hair
This involves starting with the braiding hair or weave at the very start with your natural hair in three strands.
Split your hair extensions or weave into small equal pieces. Same size pieces will give you a more neat uniform gradual consistency when braiding.
Start with smaller braiding hair since the beginning hair usually starts thinner. I typically love using yarn threads as my first piece because of its texture which helps with grip since hair is short, and then I proceed feeding in with the other hair extension (weave)
Using the tail end of a rat tail comb, make a clear size section you are going for. A bit of edge control on your hair line will help you grip the hair easier, tame flyaways, and keep your cornrows neat. Pinch a tiny smaller section from your part section you want to start with.
Take 1 piece of hair extension and place it over another piece so they interlock into each other to form a loop. Make sure 1 piece has more hair than the other where the smaller section hangs over the bigger section. You now have 3 even sections of synthetic hair to start with.
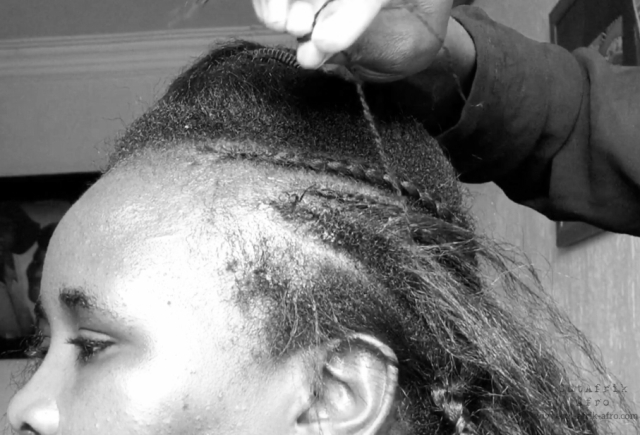
Holding the hair extension at the middle section with your thumb and pointer finger, place it over your natural hair at the the root of the small section you are starting your braids from. Line up the middle hair extension with that section of natural hair.

You have 3 strands, 2 strands on the outside and 1 strand in the middle lined with your natural hair. Remember your natural hair should fall underneath the synthetic hair in the middle section.
With your natural hair tightly integrated into the hair extension, begin your braid like a usual box braid, tight near the scalp so that it looks neat.
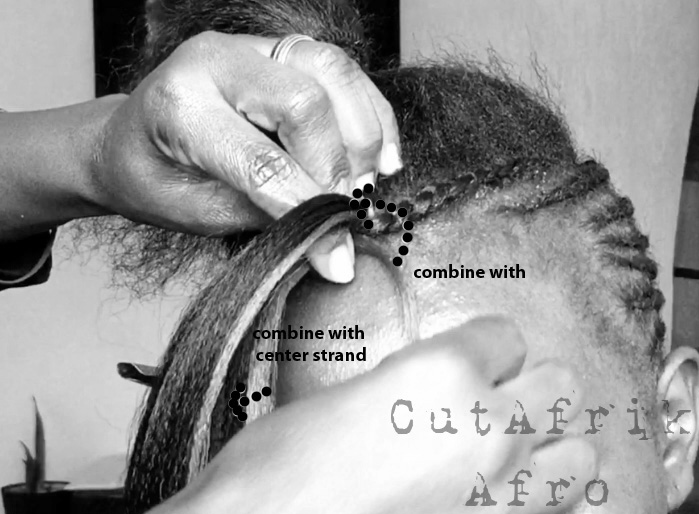
After braiding about 3 to 4 times proceed feeding in insert a piece of braiding hair (the center of the braiding hair) in between your thumb and index finger like illustrated in the picture below. One strand of braiding hair should combine with the outside strand of hair and then the other strand combine with the middle strand of hair as illustrated below and then braid one stich as you add your natural hair.

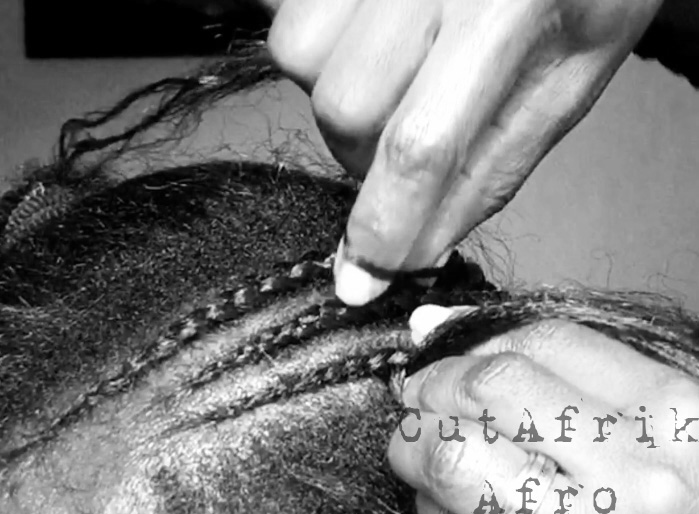
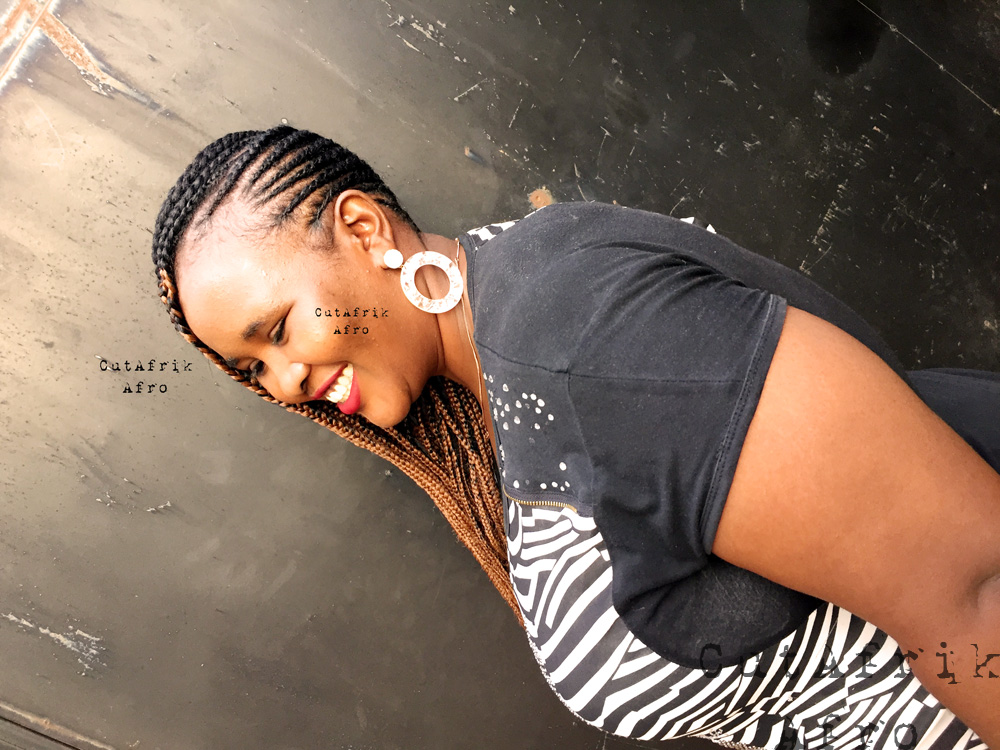
After the one stich, add another braiding hair the same way and keep braiding. You may gradually increase the size of braiding hair as you go. When you reach the middle of your braiding, you may stop adding braiding hair until the ending of your cornrow. If you prefer longer braids, you may again start feeding in braiding hair at the end of your cornrow






Recent Comments