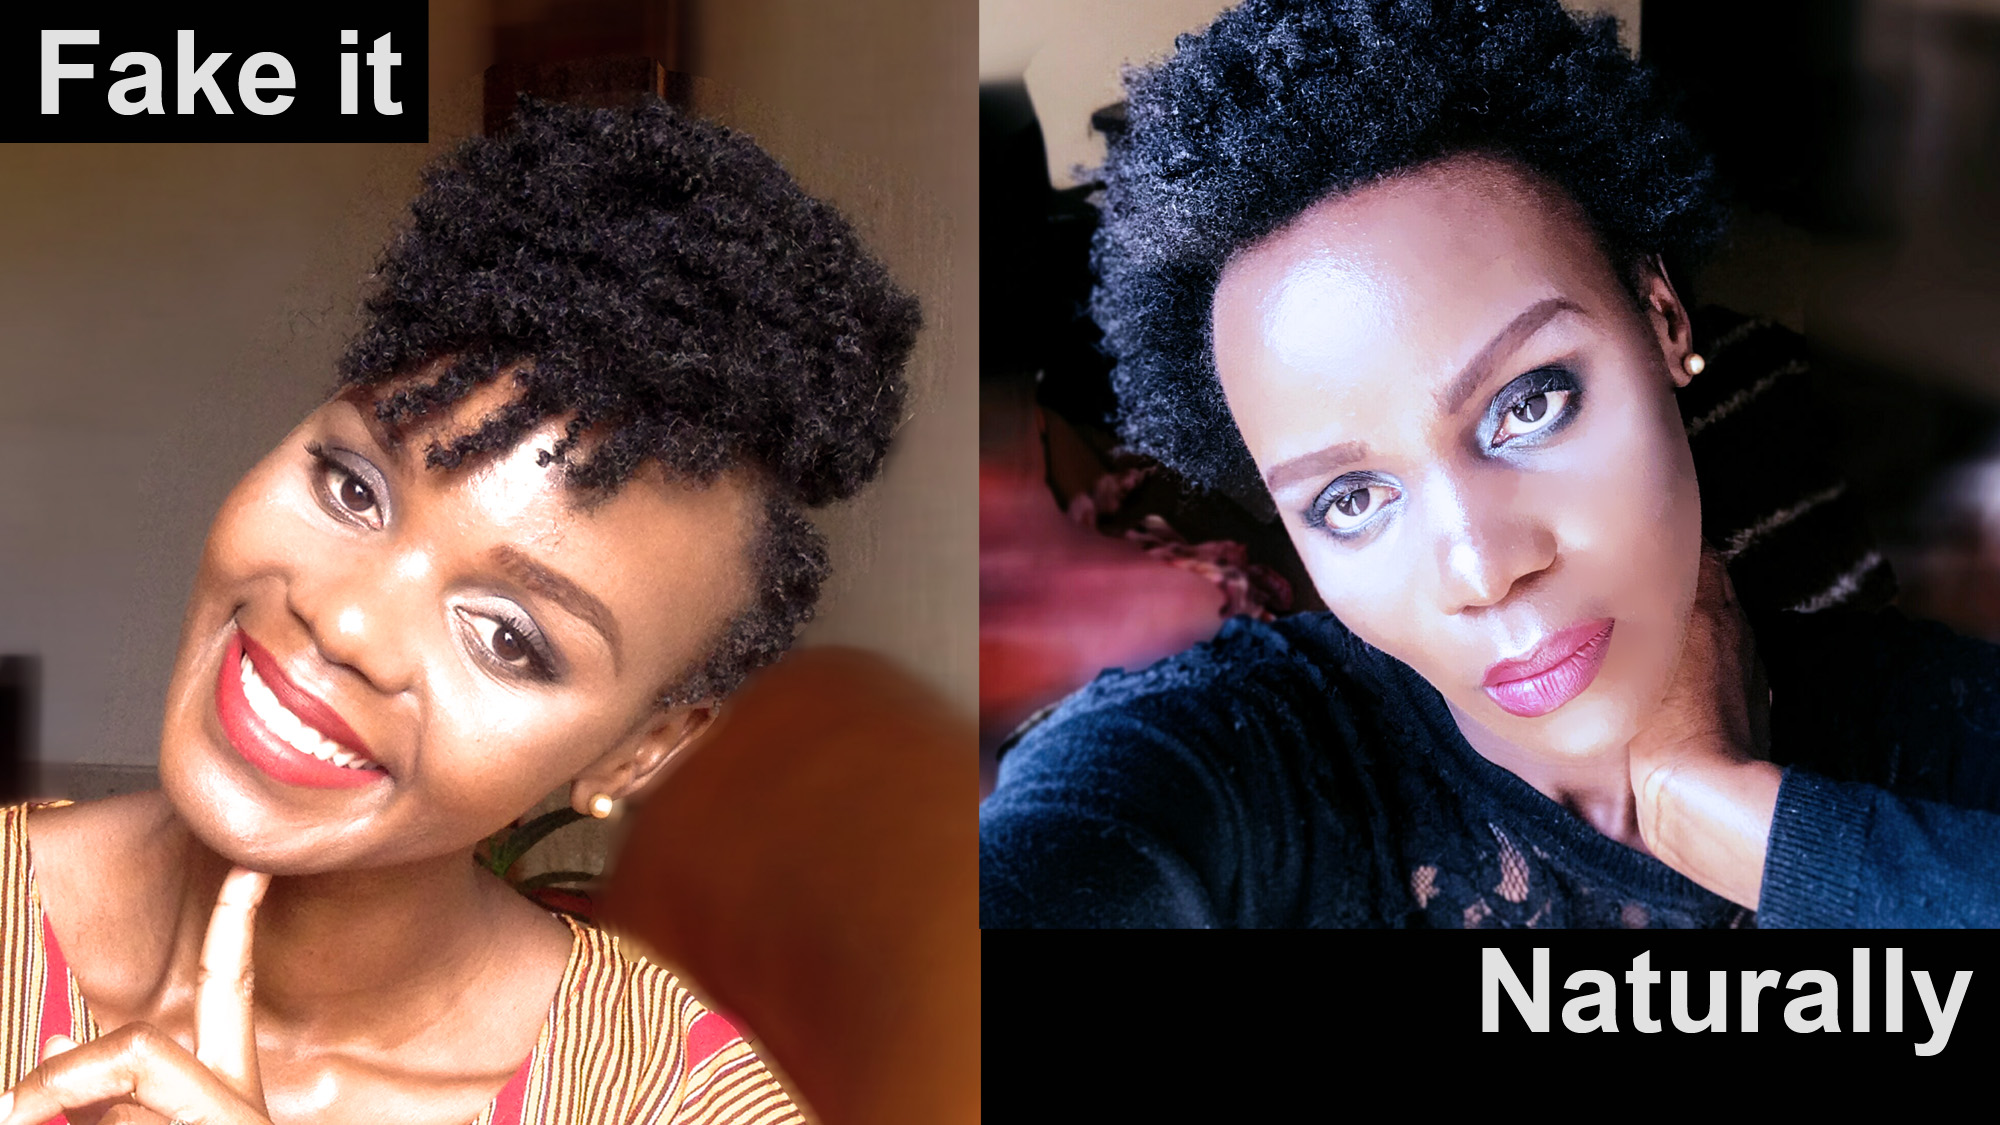
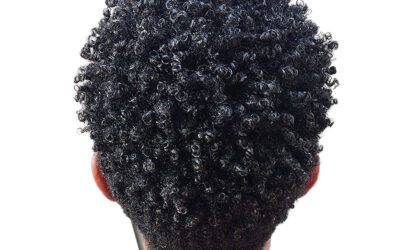
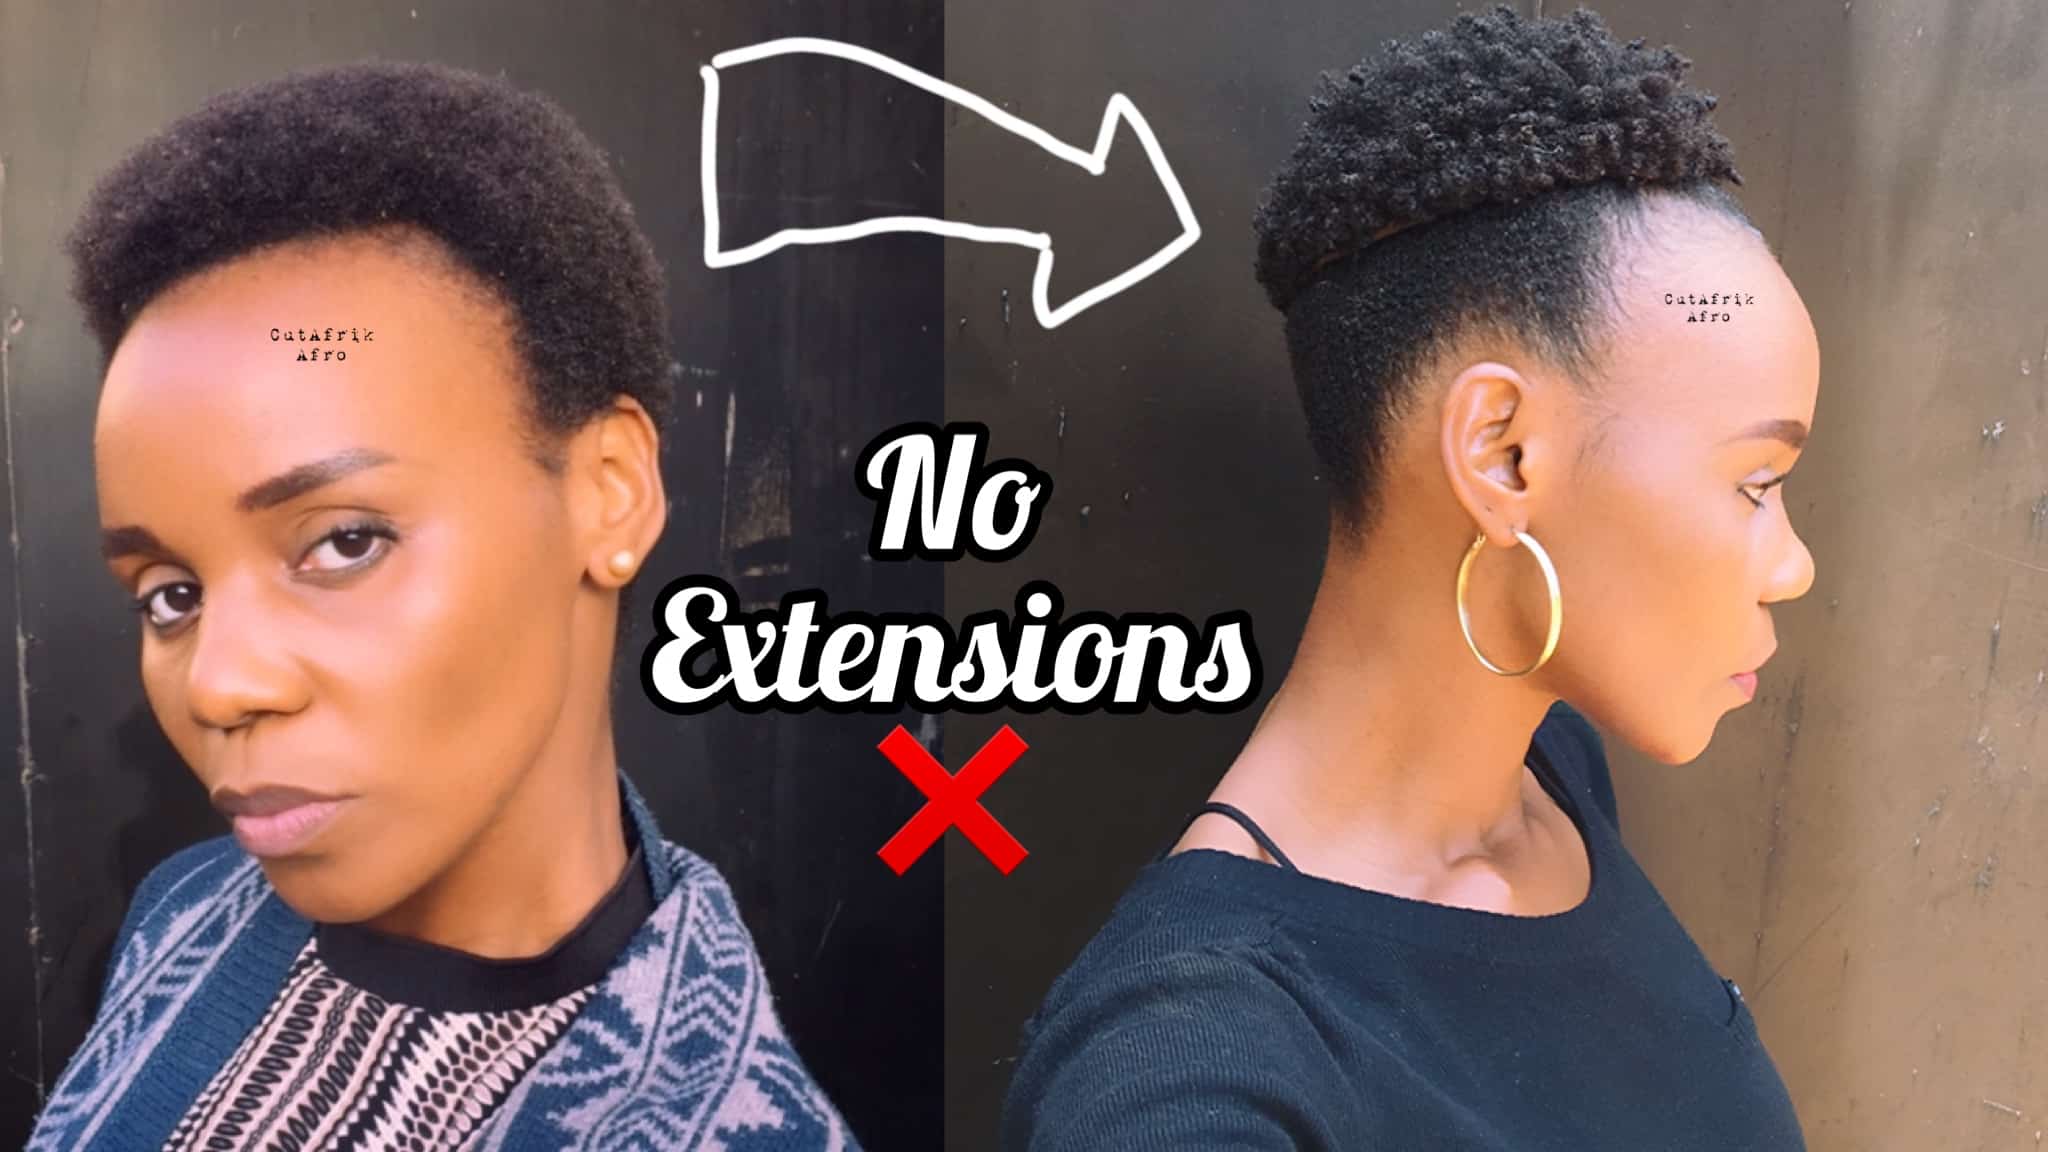
Learn how to install and taper taper cut curly afro hair with ease without cutting your own hair. with In this post, I break down the processes so you can easily grasp each. I start with prepping, followed by sectioning, cornrows, installing extension hair, cutting, and finally maintenance. I also use picture illustrations so you can see what it is all about, not forgetting a complete video demonstrating the whole process. If you like you could watch the video first.
Prep Hair
On clean moisturized natural hair, start by detangling with a wide-tooth comb. This will make it easier when doing the cornrows. You may blow dry if that will make it even much lighter to work with.
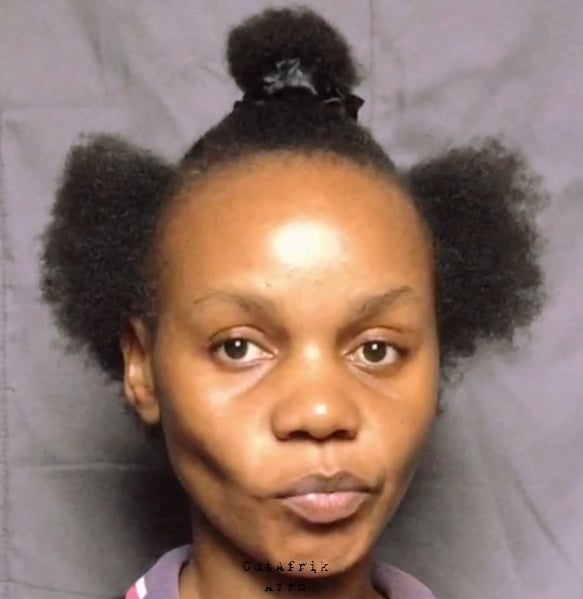
Section hair to make it easier to work with.
I usually section mine into four sections. I use the arch of my eyebrows to section the front to the mid crown making a U section. Then come behind my ears, both ears to make two sections. So now we have another section between the two small sections made behind or along the ears, making it 4 sections.
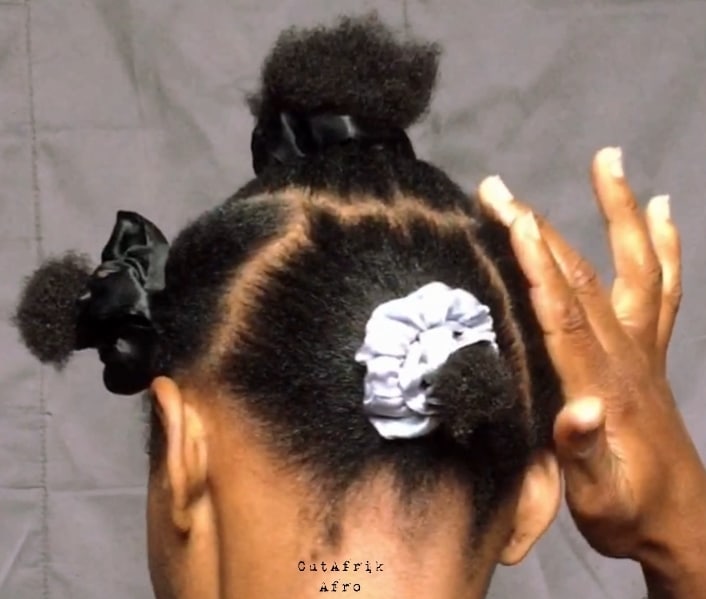
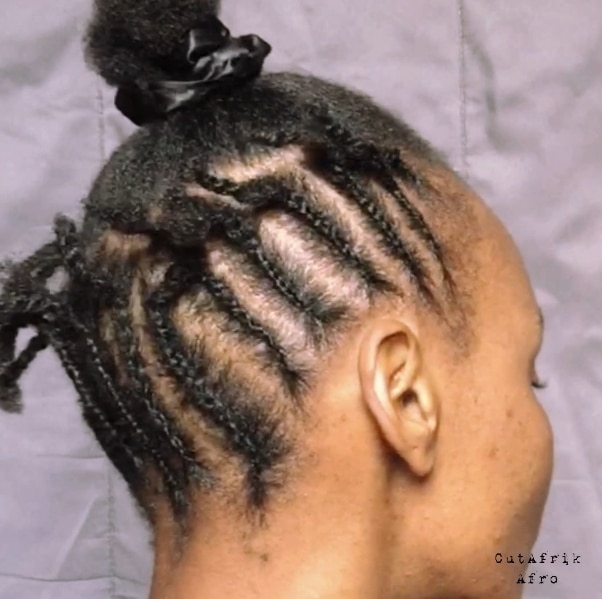
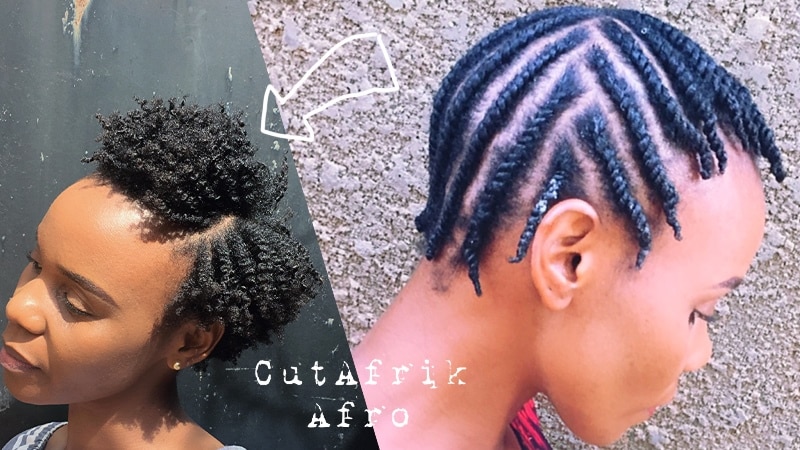
Make Your Cornrows
Make simple usual cornrows as illustrated in the pictures below. The point I want to stress here is make your cornrows as flat as possible so it gives a more realistic look of your finished tapered haircut.
Installation Process
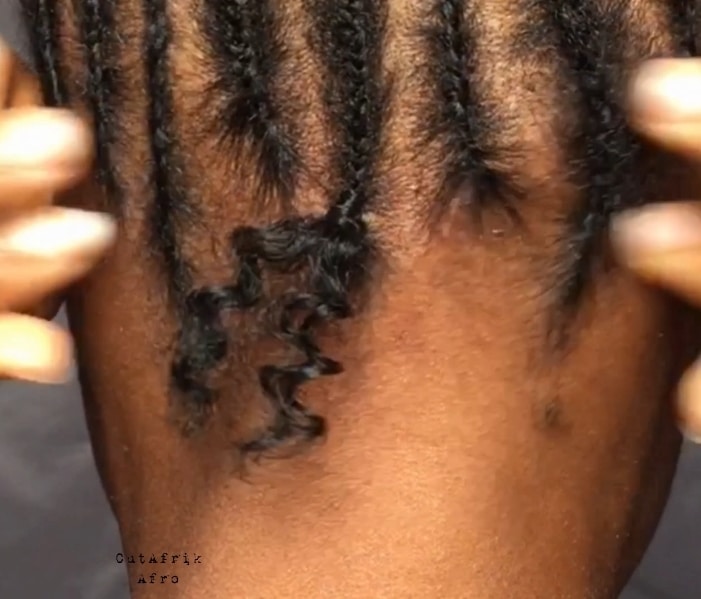
Simply grab your crochet pin, insert it under the cornrow, open the clutch fix the curly extension piece close the clutch and pull the extension hair using the pin and finally make a knot to secure the extension hair. That is the process you are going to continue with throughout. I usually cut and split the extension pieces so they are shorter, especially for the back and sides of my head.

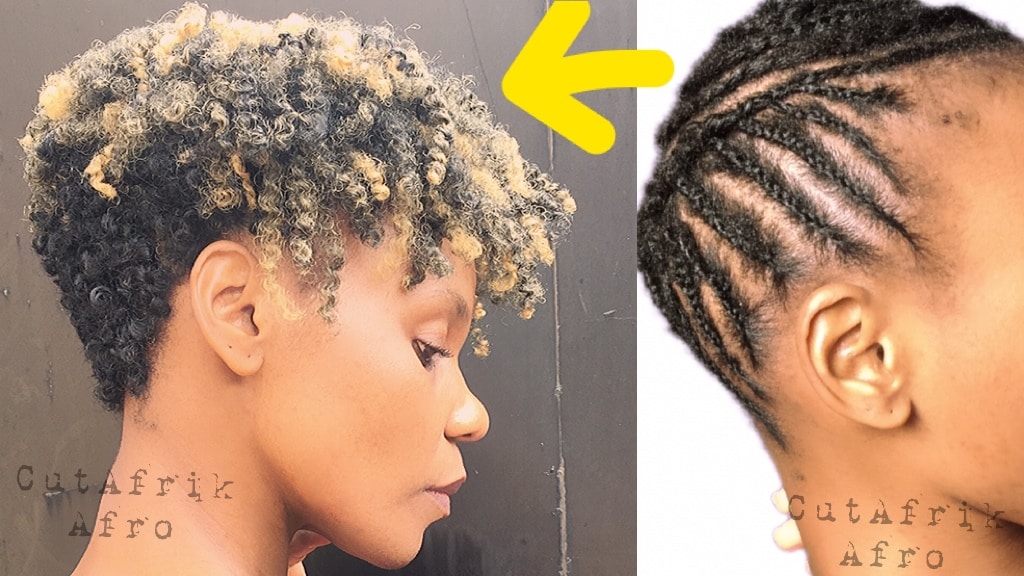
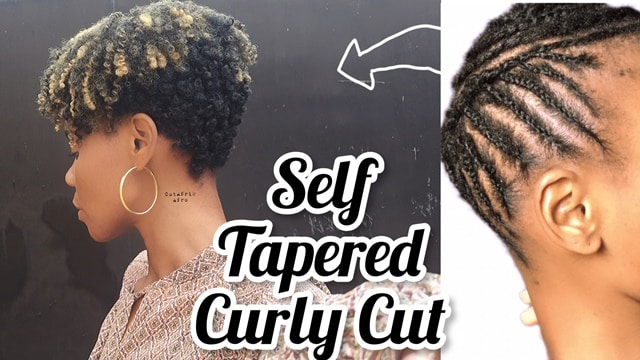
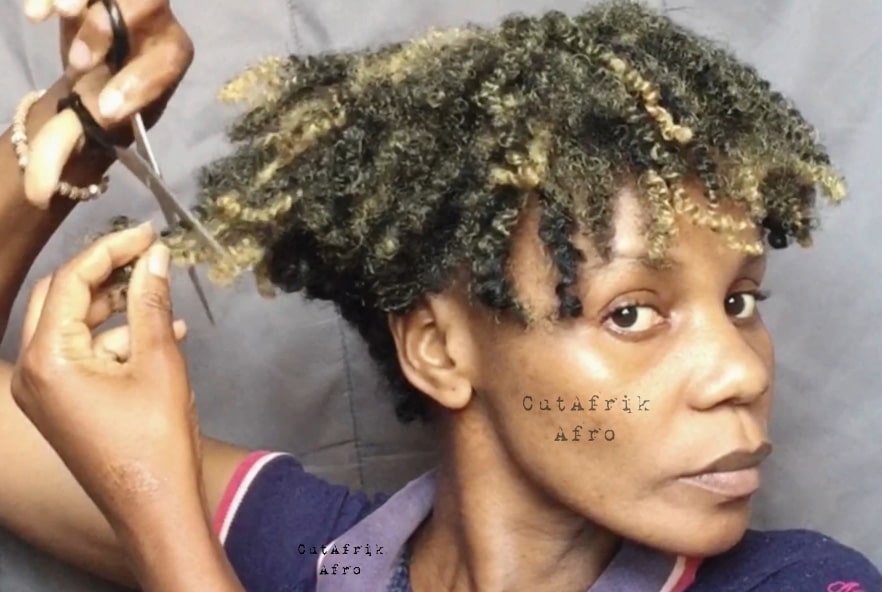
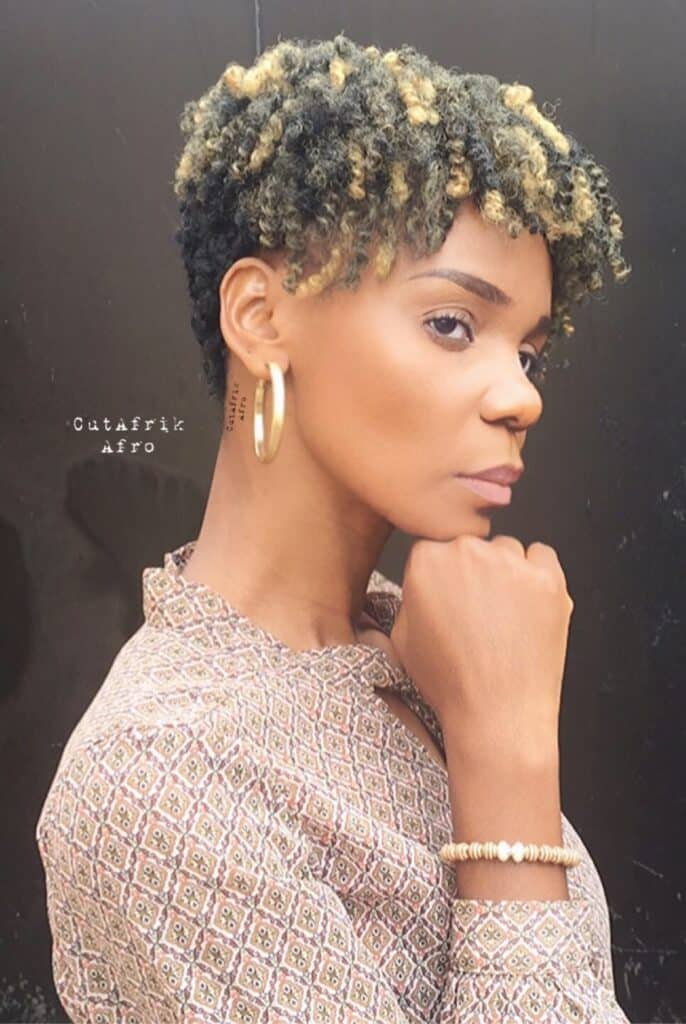
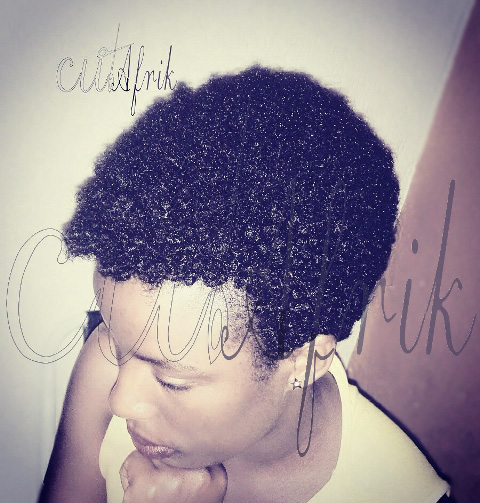
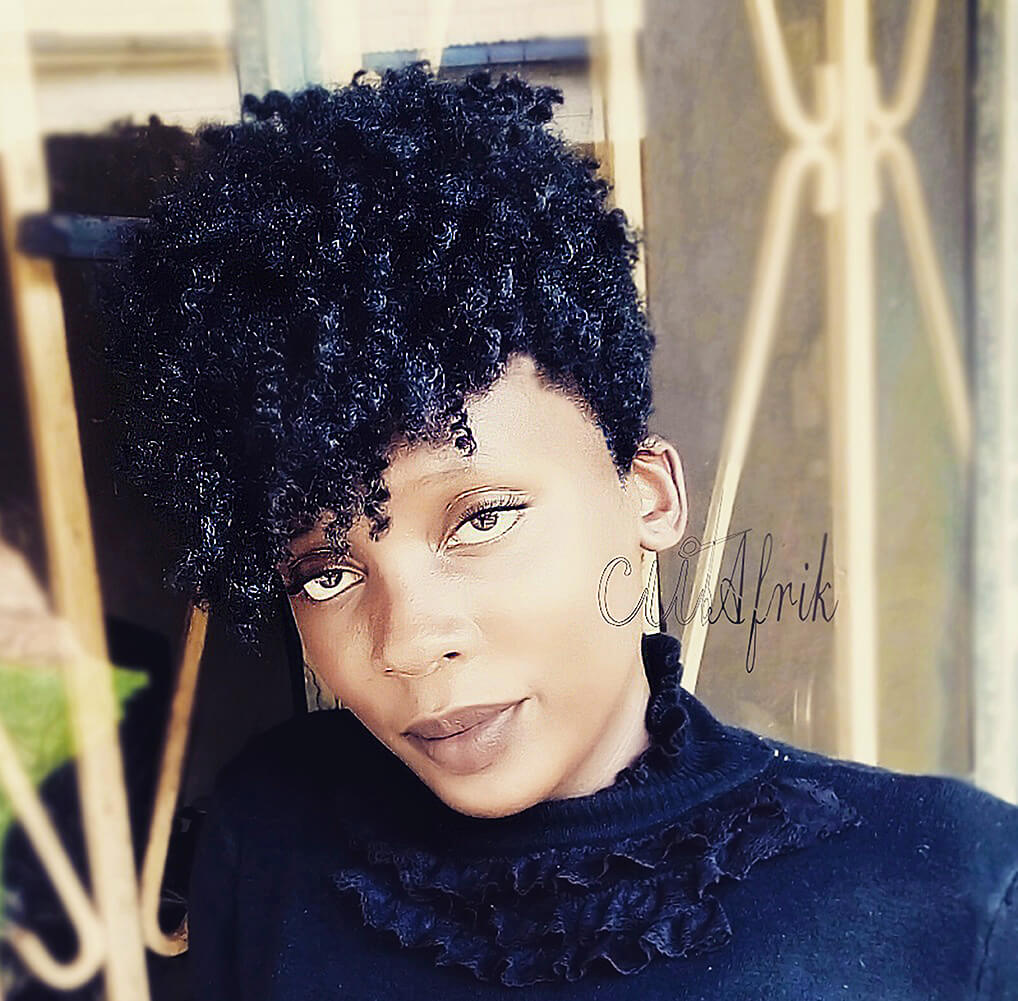
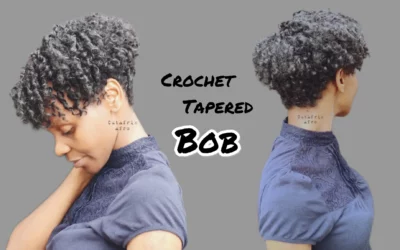
Cutting Process
Section your crochet hair and secure it with clips to keep the sections separate. This will make it easier to cut your hair accurately. Using haircutting shears, I usually begin with the back and sides cutting according to my head shape. I cut at an angle of 45 degrees which makes it easier.
To create a taper, cut the hair shorter at the back and sides, and leave it longer at the top.
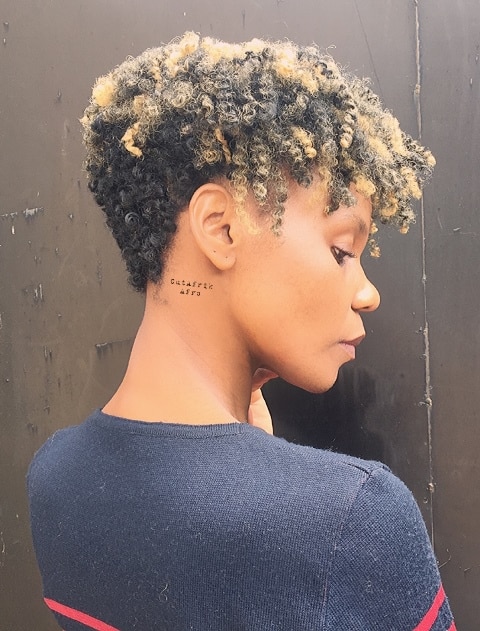
For the top hair, cut to create more volume and a softer, more graduated taper. The picture below illustrates that.
When cutting curly hair, don’t put much tension on pulling the curls otherwise you may be surprised to find that you have cut shorter than you expected. Hold hair with less tension, and progressively cut it in small bits because here you can always go back and finish.
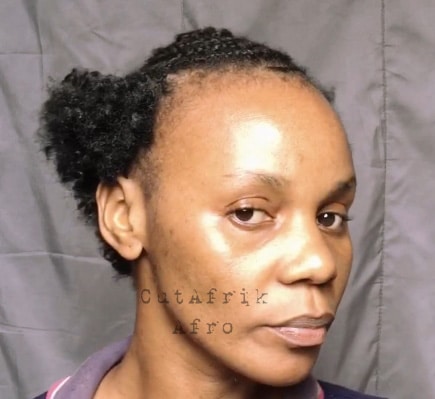
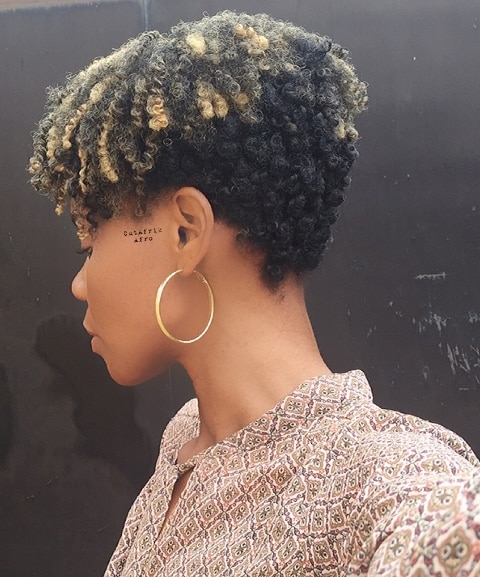
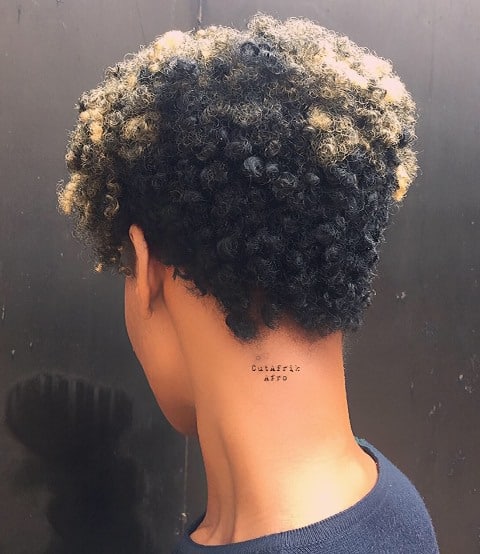
Once you are done with cutting all four quadrants as desired, allow lukewarm water run through it till it’s soaking wet. This will enable hair settle in place without it proofing at some point. You don’t want to lose shape in just a short time so use warm water to soak your hair, part it dry with a cotton cloth or towel, and then go back and cut loose hair and that’s it, my dear. You have a beautiful tapered curly haircut that will take you for at least a month.
Remember to take your time and be patient when cutting your own hair. It may take a few tries to get the hang of it, but with practice, you’ll be able to achieve a professional-looking self-taper cut on your curly hair.
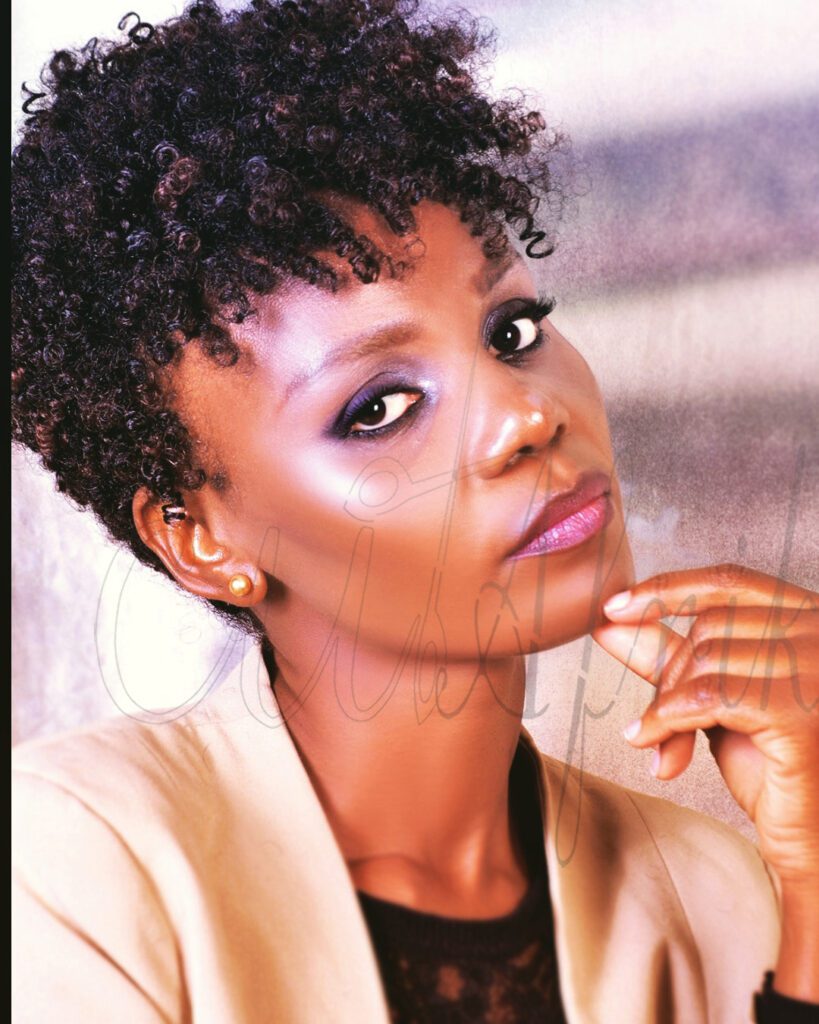
Styling and Maintenance
I sleep on a satin bonnet to prevent friction between hair and other materials so as to maintain the curls. In the morning I use wet fingers to put my hair right and after finish with a dry spray. My favorite spray for this is ORS OLIVE SPRAY


CutAfrik Afro appointments

CutAfrik Afro appointment
Recent Comments